4. OPEN POCKET
Since
the ring ties are optional, we will come back to those.
Today,
we will work on the Open Pocket. The
Open Pocket is the top pocket which comprises the pocket panel on the inside of
the bag. It has no closure and is great
to store bulky items while hanging the bag from the d- or square ring.
To
begin, make sure your open pocket and open pocket lining pieces are pressed
well. With RIGHT SIDES TOGETHER, pin along the top edge of the pocket. Notice your pocket will be longer than your
lining. Stitch along top edge.
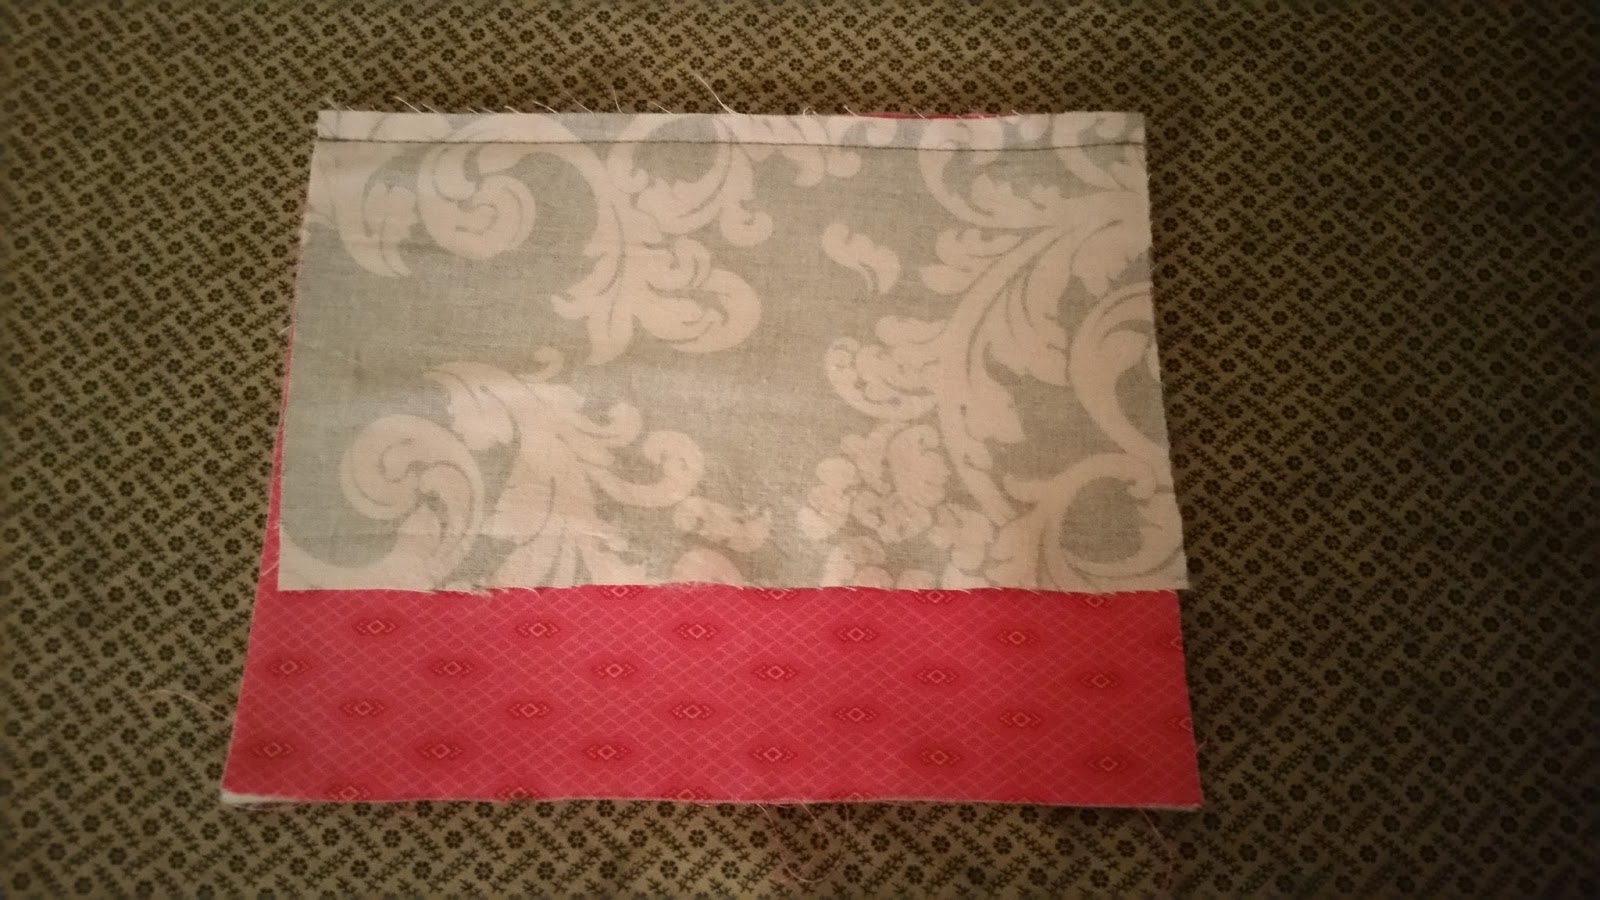
Press stitching. This ensures
that stitching will “set”.

Open out pocket/pocket lining
and press flat.

With WRONG sides together, bring raw edges of bottom pocket
and pocket lining together. This creates
a decorative top edge or strip.

“Stitch in the ditch.”

Also, top stitch the decorative strip.


Trim raw edges if needed.

STEP 4 IS COMPLETE!
Hope you are enjoying this project so far. Tomorrow will be a little bit daunting, but
not to worry! Working with zippers is
fun. Read through Step 5. Hopefully, I will be able to do a video for
Step 5 and 6, along with a tutorial to help with those confusing areas.
No comments:
Post a Comment